
The siphon plays an essential role in the efficient operation of your home's plumbing. However, during its replacement, many mistakes can occur, leading to leaks or inadequate functioning. This article aims to inform you of the common mistakes to avoid, provide advice for selecting the appropriate siphon, and guide you through the entire process. By discussing these topics, we aim to give you a comprehensive understanding of siphon replacement, from the necessary tools to the steps required for a successful installation.
Need help changing a siphon? Quickly find a qualified provider on Helplease and benefit from a tailor-made service to meet all your needs. Discover the professionals near you!Replacing a siphon may seem simple, but several mistakes are common. Among these, people often forget to check the compatibility of the new siphon with the existing installation. It is crucial to ensure that the diameter and type of siphon are suitable for your pipes. Another mistake is neglecting to clean the old seals, which can cause leaks. Similarly, some users use too much silicone—or forget to apply any—which can compromise water tightness.
Users also fail to ensure the siphon is properly assembled, which can lead to drainage problems. Sometimes, the fixing screws are not tightened properly or are missing, leading to leaks. In addition, not testing the siphon after installation is a serious mistake. It is always advised to check for leaks once the siphon is in place.
In conclusion, proper preparation and attention to detail prevent these common mistakes. Every step in installation requires careful checking to ensure optimal function of the siphon. Avoiding these pitfalls will guarantee a successful replacement.
Professionals, looking for more clients? Register on Helplease today to offer your services and grow your business. Access a wide customer base in just a few clicks!The choice of siphon depends on your installation’s characteristics. There are different types of siphons: P-trap siphon, S-trap siphon, and double-chamber siphon, among others. For example, the P-trap siphon is ideal for standard washbasins, while the S-trap is often used for kitchen sinks. It is essential to know what you’re using it for in order to choose the appropriate model.
It’s also important to consider the siphon’s material. Plastic siphons are lightweight and corrosion-resistant, while metal ones offer better aesthetics and durability. Don’t forget to check the dimensions and ensure that the siphon you choose is compatible with your existing pipes.
Finally, price is not to be overlooked. There are budget options, but it’s often better to invest in a good-quality model. A superior quality siphon can prevent future problems, such as leaks or blockages.
Washbasin siphons require particular attention due to limited space. Ensure you choose a compact siphon that doesn’t interfere with plumbing or surrounding elements. Quick-drain siphons are also preferable to make cleaning and maintenance easier.
If you buy online, always check reviews from other users. This can give you an idea of the product’s quality and durability. Online sales sites often offer product comparisons, which can help you make an informed choice.
Preparing for siphon replacement is essential to avoid unpleasant surprises. Careful preparation lets you gather all the necessary tools and make sure you have the right type of siphon. It also allows you to inspect the condition of the pipes and ensure they are free of cracks or other damage.
Proper preparation also reduces the downtime of your plumbing. By planning the required steps, you can perform the replacement quickly and efficiently. This saves you from prolonged inconveniences, such as blockages or leaks at the most inconvenient time.
Lastly, preparation contributes to personal safety. Plumbing work can be dirty and even dangerous if you don’t take necessary precautions. Organizing your workspace ensures not only your safety, but also that of the other residents.
Before starting, make a list of required tools (wrench, bucket, cloth, etc.) and verify that you have everything on hand. Taking the time to make this list can spare you a lot of trouble.
Examine the state of your pipes. If you notice signs of wear or corrosion, it may be better to carry out repairs before replacing the siphon. This will ensure that your new installation lasts longer.
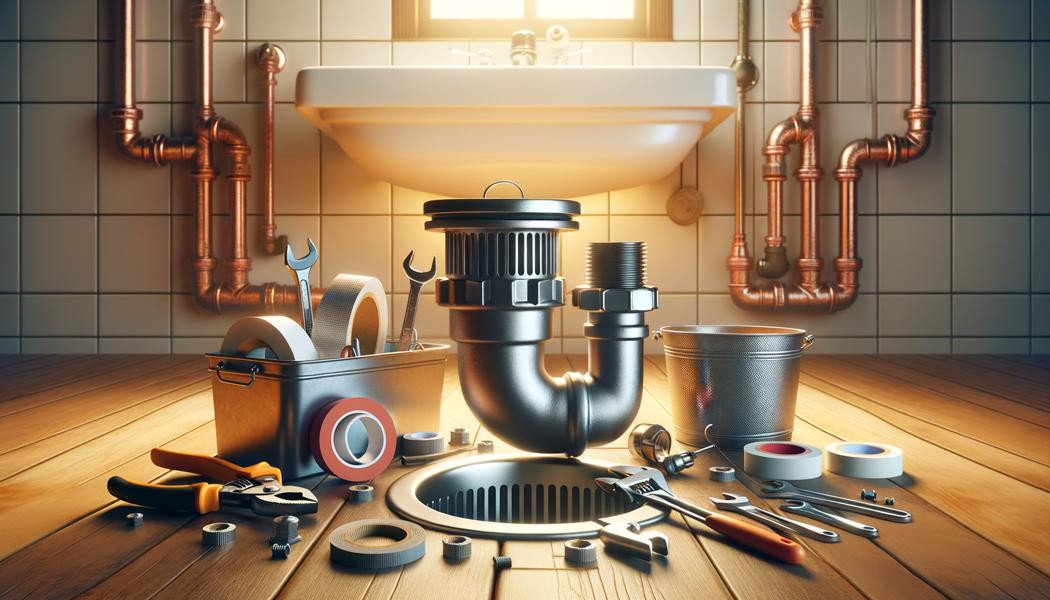
To properly replace a siphon, you will need several basic tools. A bucket is essential to collect any water that may spill during dismantling. An adjustable wrench or pipe wrench is necessary for loosening the nuts. Work gloves are recommended to protect your hands from mess and sharp edges.
In addition to tools, it’s also important to have the needed materials on hand. Plan on having new seals to ensure optimal tightness after installation. If you use silicone, make sure to pick a formula suitable for plumbing.
Having a flashlight can be useful for inspecting dark areas under the sink. Finally, a clean cloth may be needed to wipe surfaces and prevent water splashes.
You will need wrenches and possibly a screwdriver, depending on the type of siphon replaced. Check the tools you have at home before beginning to avoid last-minute runs.
Aside from the siphon and seals, other materials such as teflon tape may help reinforce the joints’ seal. Buying replacement parts ahead of time can also simplify the process.
Avoiding leaks is essential following siphon replacement. First, it’s crucial to install the seals properly. Make sure they are in good condition before installing and that they fit correctly. Applying silicone can also provide extra leak protection.
Properly tightening the nuts is equally important. Don’t over-tighten, as that could damage the seals, but ensure they are firmly secured. An adjustable wrench will help you achieve the right tightness without damaging the components.
After installation, it’s advisable to run water through the siphon to check for leaks. This may seem basic, but it’s essential to do so to make sure everything works correctly before considering the job finished.
A simple leak test is to observe the connections for a few minutes after letting water run. Look for drips or splashes around the seals to ensure a flawless installation.
If you use silicone, let it dry completely before putting the siphon back into service. Most products recommend a drying time of at least 24 hours for effective protection.
Dismantling a siphon requires following specific steps. First, make sure to shut off the water to avoid splashes. Place a bucket under the siphon to collect any water that may spill out.
Release pressure by gently unscrewing the nuts holding the siphon in place. Don’t hesitate to use a cloth to wipe any residual water as you go. Let the siphon soak in a bit, as this will make dismantling easier.
It’s also advised to take notes or photos of each step. This will make reassembling easier later. Good organization during dismantling ensures that every part is correctly replaced during reassembly.
It can be helpful to assign a theme or color coding system to remind yourself where the different pieces go. This will save time when putting everything back together.
Beware of fragile components during dismantling, especially if your siphon is metal. Avoid harsh impacts that may cause damage. Taking your time doing this properly will help you avoid future issues.
Cleaning the pipes before replacing a siphon is a step that is often neglected but crucial. The buildup of debris, grease, or food residue may affect your new siphon’s performance, making it prone to leaks or blockages.
Furthermore, a clean siphon ensures optimal water flow. By cleaning the pipe, you minimize the risk of corrosion and sewer blockages. Clean pipes also prevent bad odors from accumulating debris.
For effective cleaning, consider using a solution of vinegar and baking soda. This method not only disinfects but also improves the flow in the pipes. It’s a bit of extra effort but well worth it to extend the longevity of your siphon.
A plumbing snake can be useful to dislodge deeper blockages. Having a pipe brush may also make it easier to reach less accessible areas.
A clean siphon guarantees better service, extends lifespan, and minimizes the chance of future issues. This way, you avoid costly repairs in the long run, making siphon replacement a worry-free task.
Installing a siphon without damaging the pipes requires caution and a methodical approach. When fitting a new part, make sure not to apply too much force to avoid damaging the fittings. Use the appropriate tools to prevent shocks or excessive vibrations.
Also, regularly check the state of the seals during installation. Worn seals can create weak points which damage the surrounding pipes. Replace them if necessary.
Wearing rubber gloves can also help you maneuver the parts without slipping. This allows you to work more confidently and prevents accidental damage during installation.
When tightening the nuts, ensure you apply just the right pressure. Over-tightening can cause connectors to crack, resulting in unwanted leaks.
Following a visual guide or video during installation can help you stay organized and avoid common mistakes. This gives you practical advice and a better understanding of specifics related to your type of siphon installation.
Identifying a defective siphon is essential to ensure your plumbing system works properly. Start by looking for visible signs such as water leaks around the seals. An unpleasant odor may also indicate that debris has accumulated inside the siphon.
Additionally, a siphon that makes unusual sounds as water passes through could indicate a fault. The presence of air bubbles when draining may also indicate a problem. These signs should be considered warnings, signaling the need for further inspection.
If you notice that water drains slowly, it may be a sign of a clogged or improperly installed siphon. In these cases, dismantling may be necessary to assess the situation and decide if a replacement is required.
Don’t hesitate to inspect the siphon visually for cracks or damage. Sometimes, a simple examination can reveal problems that require immediate attention.
If you have doubts, a simple performance test can be done by running water through and carefully observing. This can help you spot defects in good time and prevent future issues.
Traditional siphons tend to be simpler and less expensive, but may not offer the same level of performance as their modern counterparts. Modern siphons are often designed with higher-quality materials and anti-fog features. Additionally, their design allows better water flow and minimizes the risk of blockages.
Another major difference is the use of technologies such as intelligent silicone seals, which provide better tightness. In terms of durability, modern siphons can withstand more demanding use, thus prolonging their lifespan.
In terms of finish, modern siphons are often more aesthetically pleasing, better fitting in modern kitchens or contemporary spaces. This is especially true for metal siphons which offer an elegant appearance while remaining functional.
Depending on your installation, a modern siphon might be a better choice. For example, if you use your sink frequently, opting for a modern siphon may be more advantageous thanks to its efficiency and durability.
Modern siphons are also more often designed with environmentally-friendly materials, contributing to more sustainable installations. Choosing a modern siphon can have a positive impact on your plumbing’s sustainability in the long run.
Testing the proper functioning of a siphon after installation is one of the most important steps. To do this, slowly run water into the connected basin or sink and carefully watch for any leaks. The seals must be watertight and should not let water through.
Once the water has drained, listen carefully to the siphon. If there are unusual noises like gurgling or overpressure, it may be a sign that something isn’t working correctly. Sometimes, these noises can indicate blockages or drainage issues.
You can also check the state of the seals immediately after installation. Make sure there are no damp patches around the joints, which could indicate potential leaks. Taking these precautions during testing may save you from costly future repairs.
After installation, visually inspect the siphon. This includes checking all connections to ensure they are properly in place. It can also be an opportunity to improve the appearance of your setup.
For a thorough evaluation, feel free to repeat the test several times using different water levels. This will give you a better sense of the siphon's long-term performance.
There are several signs indicating it’s time to replace a siphon. Frequent leaks and unpleasant odors are red flags. If these problems persist despite regular repairs, it likely means the siphon needs to be replaced.
Other signs, such as slow drainage, can also be an indicator. When water does not drain properly, this may be due to a blockage that can no longer be removed, signaling an urgent need for siphon replacement.
Unusual noises, such as air bubbles or gurgling when using the siphon, may also signal something is wrong. Ignoring these signs can cause significant drainage problems and lead to costly repairs.
Keep an eye on the state of your siphon on a daily basis. These preventive alerts can save you major complications during periods when you frequently use your facilities.
If in doubt, don’t hesitate to call a professional plumber for an assessment. Proper expertise can bring solutions you hadn’t considered and ensure your plumbing runs smoothly.
Whether you need quick help or want to offer your services, Helplease is your solution! Download the app to access qualified experts or find customers with one click, and simplify your daily life! Available on iOS and Android!