
In a world where aesthetics play a crucial role in the image of our homes, painting shutters flawlessly has become a priority for many homeowners. In 2025, tools and techniques are modernizing, making it easier than ever to improve the appearance of our shutters. This article aims to review all the essential tools for a perfect finish, including paint choices, preparation steps, and much more. Whether you are a DIY enthusiast or a professional, this discussion will help you navigate the process of painting shutters to achieve the desired results.
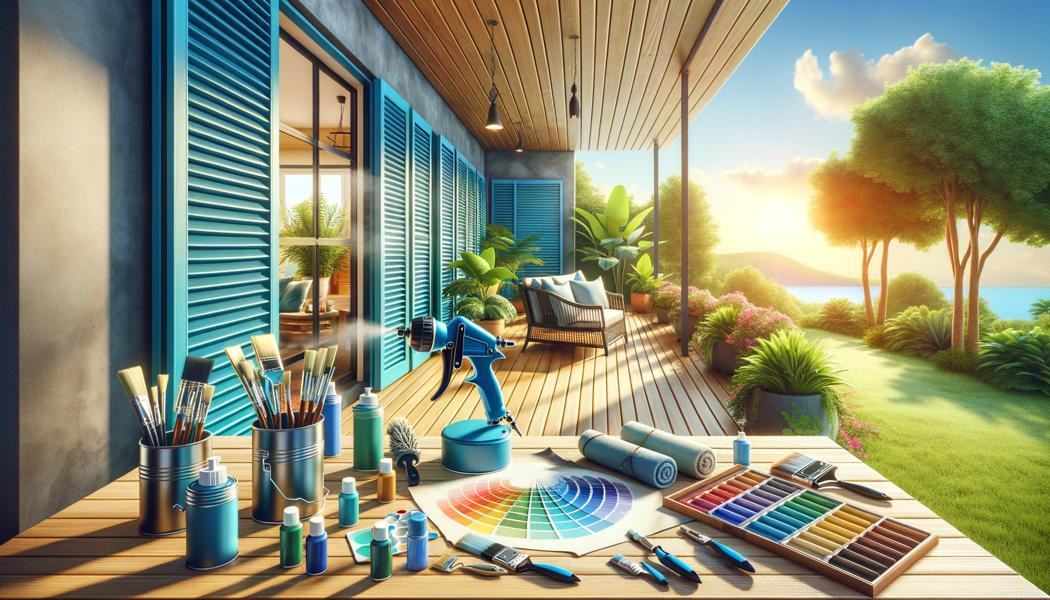
When preparing to paint shutters, it is crucial to use the right tools to ensure a quality finish. Essential tools include a paint tray, brushes of various sizes, a roller, and possibly a paint sprayer if you choose that method. It is important to select synthetic bristle brushes for acrylic paints and natural bristle brushes for oil-based paints. Additionally, a roller with a sleeve suitable for the surface you are painting can facilitate application.
Another necessary piece of equipment is a good ladder or scaffolding to safely reach high shutters. You will also need painter's tape to protect areas that should not be painted, which allows for crisp lines. A cleaning tool, especially for removing drips or accidental splashes, will also be valuable throughout the process.
Finally, do not forget personal protective gear, such as gloves, goggles, and a mask if you are using solvent-based products. Having all these tools on hand will make your job easier and contribute to a flawless final result.
There are many types of tools available on the market, each with its own characteristics suited to specific needs. For example, long nap rollers are ideal for rough surfaces, while short nap rollers are better for smooth surfaces. Regarding brushes, angled shapes are perfect for corners and details, while flat brushes are excellent for large areas. Having a variety of tools will allow you to choose the one that is best suited to your painting requirements.
Before you begin, it is essential to prepare your tools. Rinse brushes or rollers with hot water to remove paint residues from previous applications and ensure each tool is dry before starting. The quality of the finish also depends on the condition of your tools, so regular maintenance will keep them in good shape for each project.
The choice of paint is just as crucial as selecting the tools. In 2025, several options are available that meet eco-friendly and durability standards. The first thing to consider is the composition of the paint. Acrylic paints are often recommended for their ease of use and water cleanup. However, for more durable and resilient finishes, oil-based paints may be more suitable.
Next, think about the color and type of finish you want. Glossy finishes reflect light and are generally easier to clean, while matte finishes hide imperfections but are more difficult to maintain. Consider the color in relation to the aesthetics of your home and contemporary trends, keeping in mind that some colors may fade more quickly than others.
With the evolution of environmental awareness, many brands offer eco-friendly paints. These contain lower levels of volatile organic compounds (VOCs) and are better for health. They can offer durability comparable to traditional paints while being less harmful to the environment. By choosing sustainable products, you are making a gesture for the environment and your long-term health.
When purchasing, also check the labels for information on coverage, drying time, and other specifics such as UV resistance. This will help you choose the paint that best suits your needs. Lastly, do not hesitate to request samples to test the color before committing to purchasing in large quantities.
Preparing shutters is a fundamental step to ensure a beautiful finish and the longevity of the paint. First, it is essential to clean the shutters by removing any dirt, dust, or old paint that could prevent the new paint from adhering. A simple cleaning solution made of water and soap can be effective, but in some cases, a pressure washer may be necessary.
Once cleaned, you will then need to check the condition of the shutters. Look for damaged areas, such as cracks or rot, and carry out the necessary repairs before moving on to the next step. This may include replacing certain wooden parts or reinforcing weakened elements.
Sanding is a crucial step in preparing the surface. By lightly sanding the shutters, you create a rough surface that will ensure better paint adhesion. Use fine sandpaper to avoid removing too much material. Once finished, make sure to thoroughly dust off the shutters before applying paint.
Depending on the material of your shutters and the paint chosen, applying a primer may also be recommended. This can help even out the color and improve paint adhesion, especially if you are transitioning from a dark color to a light color. Ensure that the primer is completely dry before moving on to the finish coat.
The choice of brushes and rollers can significantly impact the final appearance of your work. To paint shutters, it is recommended to use a paint sprayer, as it distributes the paint evenly. However, if you choose brushes and rollers, it is good to know the different types available.
Synthetic brushes are ideal for oil-based applications, while natural bristle brushes are suitable for water-based paints. Flat brushes are perfect for large surfaces, while angled brushes allow you to reach corners and edges. As for rollers, choose one with a texture suitable for your surface: a short nap roller for smooth surfaces and a long nap roller for rougher surfaces.
The width of brushes also plays a role. For shutters, a brush that is 2 to 3 inches wide is ideal for reaching most surfaces, while a small brush can be helpful for detail work. Varying your tools will save you time and ensure a neat finish.
When using rollers, ensure that you select the right sleeve for your projects. Use it with a roller sleeve suitable for your paint and surfaces. A sleeve that is too thick will create drips, while a sleeve that is too thin will not effectively cover the painting area. Get advice on rollers specifically designed for painting shutters from the staff at your local hardware store.
Using a paint sprayer can make the process of painting shutters much faster and more efficient. First, ensure that the sprayer is clean and in good condition. Next, prepare your workspace to avoid painting inaccurately.
For a successful application, it is essential to maintain a consistent distance between the sprayer and the surface, generally between 6 and 12 inches, to avoid any drips. Move the sprayer in smooth, horizontal motions, rather than staying in one spot for too long. This ensures even application of paint.
The pressure of the sprayer is another important factor to consider. For shutters, too high a pressure can cause excessive overspray, while too low a pressure can result in uneven spraying. Adjust the pressure according to the manufacturer's recommendations and the type of paint you are using.
Before you start painting your shutters, it may also be advisable to conduct a test on a wood panel to familiarize yourself with the sprayer and determine the best angle and distance. This will help you avoid mistakes once you start on the shutters.
Choosing the right sanding material is crucial to achieving a perfect finish on your shutters. Generally, you can choose between sandpaper, an electric sander, or a multifunction tool. Each option has its own advantages.
If you opt for sandpaper, assess the texture based on the condition of your shutters. For a very rough surface, a coarser grit is required, while a fine grit will be ideal for sharper finishes. An electric sander can offer increased efficiency for larger and wider shutters, as it makes the task easier and reduces overall work time.
Do not forget to wear protective gear, including a mask and goggles, to shield yourself from dust and particles generated during sanding. When sanding, apply even pressure to avoid creating dips or irregularities on the shutters.
After sanding, try using a vacuum or a slightly damp cloth to remove sanding dust before applying the paint. This ensures optimal adhesion of the paint to the prepared surface.
A uniform final result makes all the difference in the appearance of your shutters. To ensure a uniform application, start by working in sections and follow a pattern to avoid missing areas or applying too much. Making long, slow strokes ensures that the paint distributes well across the surface.
Also, use crossing techniques by passing the roller or brush in one direction and then the other to help the paint penetrate and prevent marks.
It is important to adhere to drying times between coats. Applying a new coat before the previous one is completely dry can lead to an uneven finish or drips. Always check the manufacturer's instructions for recommended drying times.
Painting in temperate weather, ideally when temperatures are neither too cold nor too hot, also contributes to a uniform application of the paint. This gives the paint time to dry properly without compromising the quality of the finish.
A primer is essential because it prepares the surface to receive the finishing paint. A good primer can improve paint adhesion and prolong the lifespan of your finish. It also helps to conceal imperfections on the surfaces of the shutters, ensuring a smoother and more finished appearance.
In addition to this, a primer can expand the range of shades you can use, especially if you are transitioning from a dark color to a light color. This reduces the amount of finishing paint required.
It is important to choose the right primer based on the type of material of your shutters. For wooden shutters, an oil-based primer is often more effective, while for PVC or metal shutters, an acrylic primer will work better. Each material has its own requirements, so consult your vendor to choose the one that suits your project best.
Ensure that the primer is completely dry before moving on to the finishing paint. Check the manufacturer's instructions regarding drying times to guarantee the best adhesion possible between layers. This ensures better durability of the paint in the long run.
The painting technique can vary based on the material of the shutters. For wooden shutters, start by sanding the surface and applying a primer before painting. This helps to seal the wood and prevents swelling or warping.
For PVC shutters, the painting technique is different as the material is smoother. In this case, a suitable primer for PVC is necessary to ensure the durability of the paint. Use a roller for an even application.
Metal shutters may require a rust-inhibitive primer if they are exposed to harsh weather conditions. This type of primer isolates the metal and prevents oxidation. After that, several coats of paint suitable for metals should be applied for a durable result.
If your shutters have detailed patterns or ornaments, meticulous work is required for each section. Do not neglect to work with small brushes to reach corners and ornaments so that the entire surface is fully painted and every detail is highlighted.
Weather conditions play a key role in the success of any painting project. It is advisable to avoid painting in the rain or at extreme temperatures, as this can compromise the adhesion and drying time of the paint.
Days that are too humid or rainy can harm your finishes, causing prolonged drying times and reducing the gloss of the paint. Conversely, painting during excessively high temperatures can also lead to quick drying times and hinder uniform application, resulting in drips.
The ideal humidity level for painting is between 40% and 70%. If possible, try to paint during warm evenings or dry days. Also, monitor the wind direction, as painting in windy conditions can cause debris to settle on your fresh paint.
Before starting any painting task, check the weather forecasts. A perfect plan will allow you to paint your space efficiently and ensure a satisfactory result in the long run.
Proper maintenance of painting tools can prolong their lifespan and ensure optimal results for each project. After use, it is essential to clean your brushes and rollers immediately to prevent the paint from drying and damaging them.
To clean brushes properly, rinse them first with hot water or thinner according to the type of paint used. Make sure to rinse until the water runs clear and all paint residues are removed. For rollers, remove the excess paint in the tray, then wash them with hot water to remove any remaining paint.
After cleaning, ensure that your brushes are well-dried by hanging them in a place protected from moisture or using a brush holder. Rollers should also be stored in a cool, dry place, away from direct sunlight.
Investing time for regular cleaning of your tools will yield better finishes in future paint jobs. Tools in good condition ensure better paint quality and reduce the risk of problems in future uses.
Avoiding certain common mistakes can make all the difference in the final result. One of the most common mistakes is neglecting to properly prepare the surface before painting. This can lead to peeling or premature chipping of the paint.
Another mistake is painting in unsuitable weather conditions, as mentioned earlier. Also, avoid neglecting the use of primers, as they are essential for proper adhesion.
Another frequent error is applying too much paint at once, which can create drips and irregularities. Apply multiple light coats, ensuring to let them dry between each application for a uniform result.
Finally, not following the manufacturer's instructions regarding drying time and application conditions can also compromise the quality of the work. Pay attention to each step to ensure a successful finish.
In summary, painting shutters requires careful preparation, informed selection of tools and materials, as well as adherence to appropriate conditions. By following the detailed steps and avoiding common mistakes, you can transform your shutters and enhance the aesthetics of your home for many years. The choice of tools, coatings, and appropriate methods plays a key role in achieving professional results. In 2025, adopt best practices and give your shutters the attention they deserve.
Whether you need quick help or want to offer your services, Helplease is your solution! Download the app to access qualified experts or find clients with a click, and simplify your daily life! Available on iOS and Android!