
Redoing the bathroom joints is an essential task that should not be overlooked. Indeed, damaged joints can cause water infiltration, leading to costly damage not only to your bathroom but also to the surrounding structures. This article will guide you through the various steps to redo your joints like a pro, the choice of appropriate materials, and the importance of regular maintenance. Additionally, we will cover tips to avoid common mistakes during this process and how to customize the appearance of the joints for a unique aesthetic finish.
Do you need help redoing the joints in your bathroom? Quickly find a qualified provider on Helplease and enjoy tailored service to meet all your needs. Discover professionals near you!The bathroom is one of the most at-risk areas regarding humidity. The tiles, although waterproof, can have infiltrations appear around the joints. If these joints are not properly maintained, water can seep into the walls and floors, causing water damage, the formation of mold, and a potential risk of collapse. Furthermore, worn joints can also diminish the appearance of your bathroom.
Neglecting to redo your joints can lead to very high repair costs in the long term. Infiltration issues often go unnoticed until it's too late. For example, a simple leak can become a structural problem. By taking proactive measures to replace or repair your joints, you preserve not only the integrity of your bathroom but also ensure a healthy environment for your family.
It is therefore crucial to regularly inspect the condition of your joints, especially if you notice any cracks or discolorations. These signs often indicate that the sealing is compromised. By proceeding with regular repairs, you will avoid much more costly work and extend the lifespan of your bathroom.
Finally, a well-maintained joint contributes to the cleanliness of your bathroom. Dirty or damaged joints are a refuge for mold and other bacteria, which can lead to health issues. By taking care of your joints, you ensure not only good sealing but also a healthy and pleasant environment.
Redoing the joints in your bathroom also has a significant impact on its aesthetics. Clean and well-applied joints can transform the appearance of your bathroom, bringing a touch of modernity and freshness. This not only pleases the eye but can also increase the value of your property in case of sale.
Another essential point to consider is mold prevention. Molds thrive in warm, humid environments, which are precisely what is found in many bathroom spaces. By keeping your joints in good condition, you significantly reduce the risk of a mold infestation that could harm the health of the occupants.
Redoing the joints not only improves sealing; it also makes the maintenance of your bathroom much easier. Joints with good sealing hold less dirt, making cleaning easier. Less cleaning means also fewer cleaning chemicals, which is a benefit for the environment and your health.
Redoing the joints in the bathroom may seem like a daunting task, but by following clear steps, you can achieve a clean and durable result. The first step is to remove the old joints. Use a scraper to remove all the old sealant or silicone, ensuring not to leave any trace. This step is crucial because residues can compromise the adhesion of the new joint.
After thoroughly cleaning the surface, it is essential to prepare the new joint. This involves selecting the right type of joint based on the location and usage. Silicone is often preferred in wet areas like bathtubs and showers because it is resistant to water. Other types of sealant can be used for specific applications, particularly acrylic sealant for joints where aesthetic appearance is a priority.
Before applying the joint, ensure the surfaces are dry and clean. Use a cleaner to remove any dirt or residue. Application can then be done using a caulking gun, ensuring uniform pressure to avoid air bubbles. For a clean finish, you can smooth the joint with your finger or a suitable tool, using soapy water to prevent sticking.
Finally, after application, allow the joint to dry completely before using the shower or bathtub. It is generally recommended to wait at least 24 hours before testing the waterproofing to ensure perfect adhesion and optimal sealing.
Professionals, are you looking for more clients? Sign up on Helplease today to offer your services and grow your business. Access a large client base in just a few clicks!The removal of old joints is a step that requires patience. Use a scraper or a utility knife to gently cut around the joints. It is essential to do this without damaging the tiles underneath. If you encounter resistance, applying some heat with a heat gun can help soften the degraded material. Take your time: a proper removal ensures that the new joint will adhere correctly.
During application, be sure to use a quality caulking gun to ensure uniform distribution of the product. Apply constant pressure to avoid irregularities. If necessary, a masking tape can be used to protect adjacent surfaces and achieve a neat finish. Do not forget to smooth the joint immediately after application with your fingers for perfect sealing and a tidy appearance.
Choosing the right type of joint for the bathroom is crucial for ensuring effective sealing. Generally, there are two main options available: silicone and sealant. Silicone is often the best choice for wet areas because it is completely waterproof. Another advantage is its flexibility, allowing for better absorption of movement, which is essential in a bathroom where materials may expand and contract over time.
On the other hand, sealant may be more appropriate for applications where aesthetics are paramount. Its structure is generally less flexible than that of silicone, but it can provide a smooth and tidy finish, which is ideal for bathtub edges or sinks. Before choosing, also check the mold resistance, as some products are specifically formulated to resist fungi and moisture.
It is also important to consider adhesion. Ensure the joint is specifically designed for use in wet areas and adheres well to tiles and bathtub surfaces. Read user reviews and consult manufacturer recommendations to make the most informed choice.
Finally, do not hesitate to ask professionals when purchasing. They can guide you to the product that best fits your specific needs and budget.
The differences between silicone and sealant are significant. Silicone, with its water resistance and flexibility, is often the first choice for showers and bathtubs. The sealant, on the other hand, is ideal for applications less exposed to permanent humidity. Depending on the area of your bathroom where the joint will be applied, choose the right material taking into account the conditions of use.
Joints resistant to mold are particularly important in an environment as humid as a bathroom. Ensure that the product you choose explicitly mentions this resistance on the packaging. This will help reduce the risk of mold formation and ensure easier maintenance.
In many cases, it may be preferable to call in a professional, especially if you have no experience in the renovation field. A professional has the expertise to quickly assess the condition of your joints and recommend appropriate methods. Additionally, they will bring a range of specific tools, often much more suitable than those available to a layperson.
Moreover, if your bathroom is particularly complex, with difficult angles or delicate materials, a professional will know how to navigate these challenges carefully. Incorrect installation can lead to exacerbated sealing issues, which could be costly in the long run.
However, if you decide to perform the work yourself, there are many online tutorials that can help you. Just be sure you are comfortable with the task before committing.
Hiring a professional can also provide peace of mind, knowing that the work will be done to standards. This can save time and money, especially if complications were to arise during the renewal process.
Before making a decision, it is essential to assess your skills. If you are new to renovation, entrusting this task to a professional can save you frustrations and costly mistakes. On the other hand, if you have technical skills and feel comfortable, it is not impossible to complete this task yourself.
The cost of hiring a professional may seem high, but it is essential to consider it as an investment for the longevity of your bathroom. Proper execution of the work and the use of quality products can prevent frequent repairs that would be much more expensive in the long term.
When installing joints in the bathroom, certain mistakes are common and can easily be avoided. One of the most common errors is not properly cleaning the surface before applying the joint. Residues of soap, dirt, or old joint material can prevent the new joint from adhering correctly, leading to failure and leaks. Be sure to prepare each surface thoroughly.
Another mistake is not allowing sufficient time for the joint to dry properly. Each product has a recommended drying time, and not adhering to these recommendations can render your joint ineffective. Do not rush to restart using the bathroom before the joint is fully cured.
Choosing the wrong product is also a mistake to avoid. Do not select products that are not designed for wet environments. Reading the label is essential. Finally, neglecting details like a neat finish can also reduce the aesthetics of your bathroom and lead to sealing issues.
By taking your time and staying vigilant against these common errors, you will achieve a durable and aesthetic result that will stand the test of time.
If you fail to prepare the surface properly, you expose yourself to future problems. Proper preparation is key to a successful application. Use an appropriate cleaner and thoroughly dry the area before starting your work. Do not neglect this crucial step!
Not all products are equal. Always ensure to use joints specifically designed for wet environments. This will ensure that your work lasts and that your bathroom stays in good condition for as long as possible. When purchasing, choose reputable brands known for their reliability.
Maintaining your bathroom joints primarily involves inspecting and cleaning them regularly. A simple cleaning with suitable products can go a long way to extend the lifespan of your joints. Use non-abrasive cleaners to avoid damaging the joint.
Additionally, apply a periodic antifungal treatment to prevent the appearance of mold. This is particularly important in a bathroom where humidity is high. By taking these measures, you will not only prolong the life of your joints but also protect your bathroom from more serious issues.
If you notice signs of wear or deterioration, do not wait for it to worsen before acting. Replace the joints as soon as necessary to maintain the waterproofing of your bathroom. This preventive maintenance can save you costly repairs in the future.
Moreover, it is wise to schedule semi-annual reviews of your joints to catch any potential problems before they become critical. Adopt this habit to keep your bathroom in excellent condition.
The regular cleaning of joints is essential to maintain their appearance and effectiveness. Take the opportunity of each bathroom cleaning to wipe down your joints to prevent dirt buildup. This may seem like a small gesture, but it can make a significant difference in the long term.
Schedule inspections every six months to check the condition of your joints. These checks will help you detect premature wear and act quickly before more significant damage occurs.
Poorly fitted joints in the bathroom can have serious consequences. One of the major problems is water infiltration, which can lead to structural damage in the walls, ceiling, and floor. Additionally, moisture infiltration encourages the growth of mold, which can lead to health problems for residents, including allergies and respiratory issues.
If not addressed, this problem can also result in costly repairs. Water damage is often much more difficult and expensive to repair than simply installing new joints. In the long term, this could also reduce the value of your property, which could be disadvantageous if you decide to sell.
Furthermore, poorly applied joints can affect the overall aesthetics of your bathroom. A neglected appearance can also cause negative perceptions and suggest that the entire space is poorly maintained. All this could impact your quality of life in your own home.
In summary, choosing appropriate joints, properly installed and maintained, is essential for ensuring the integrity, safety, and aesthetic appeal of your bathroom.
Massive infiltrations due to poorly fitted joints can damage walls and lead to structural issues. Do not let this become a chronic problem. If you notice signs of damage, act quickly to avoid future complications.
Mold caused by defective joints can harm your health. They easily thrive in a moist environment, and exposure to them can pose significant risks. It is essential to take action to preserve your living space.
Identifying signs of wear in bathroom joints can help you intervene before more serious problems arise. Here are some elements to watch out for: first of all, pay attention to visible cracks in the joint. These cracks can allow water to seep through, rendering the joints ineffective.
Next, check for discoloration or accumulation of dirt or mold on the joints. This may indicate that the joint is not functioning as it should. The presence of mold should be treated immediately as it can affect your health.
A rough feel or chipped edges may also signal that the joint needs to be replaced. A weekly inspection can really help catch these problems as soon as they appear. Additionally, unpleasant odors in your bathroom can also indicate that the joints need to be replaced.
Taking the time to regularly check your joints can save you from unexpected repair costs and associated health issues from moisture.
Clear cracks in the joints or sections that are detaching are obvious signs of wear. If you notice these issues, act quickly to avoid water infiltrations that could cause greater damage.
Visible mold or an unpleasant smell are clear signs that something is wrong. Do not ignore these warning signals. Consult a professional if you are unsure how to address the issue.
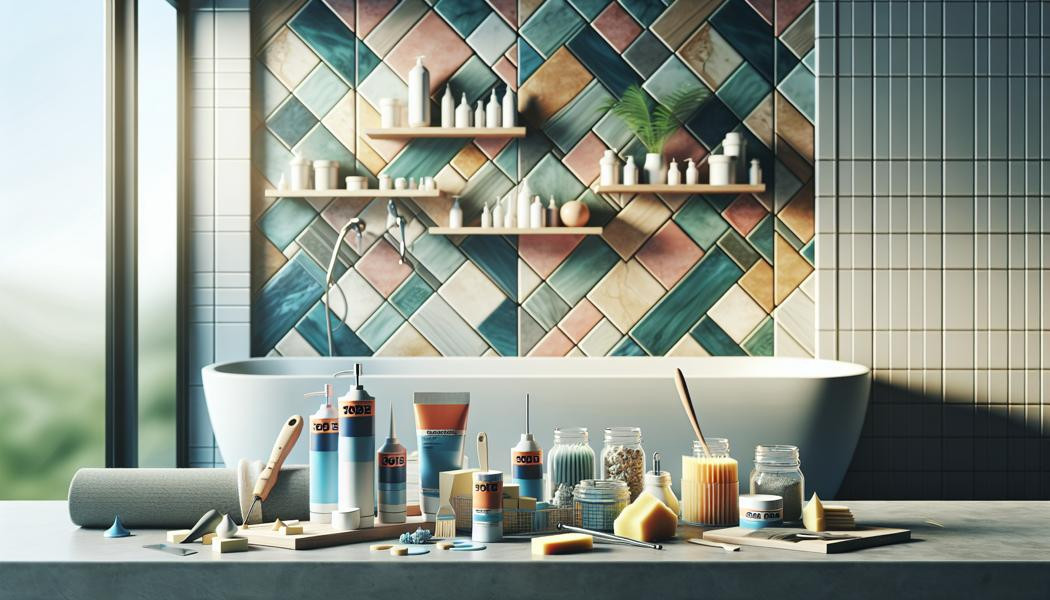
To redo bathroom joints, certain tools are simply essential. First of all, a scraper is essential for removing old joints without damaging the tiles. You will also need a caulking gun to apply the new silicone or sealant. This gun ensures precise and uniform application, which is crucial for a waterproof and aesthetic joint.
Next, a roll of masking tape can be useful to protect adjacent surfaces and ensure a neat finish. Finally, a smoothing tool can help you refine the surface of the joint after application to avoid air bubbles or imperfections.
For protection, latex or vinyl gloves are recommended to protect your hands from chemicals. Also, consider wearing a mask if you use products containing solvents, to avoid inhaling harmful particles.
Finally, a clean cloth is always useful, both for cleaning and for wiping away any excess product. These tools will ensure a neat and efficient job, allowing you to revive your bathroom.
Investing in a good scraper can make all the difference when removing old joints. A quality tool will save you time and guarantee a better result.
Having a caulking gun is indispensable. Be sure to choose a model that is easy to use and allows precise control of the product's extrusion.
Customizing the appearance of bathroom joints is an excellent way to add a personal touch to this space. You have several options to explore. Firstly, consider choosing a joint color that contrasts with your tiles. For example, a black joint on light-colored tiles can create a very modern stylistic effect.
Additionally, there are decorative joints that incorporate patterns or color effects. These joints can truly serve as a focal point in your bathroom and offer an interesting artistic touch. Inquire about the options available from specialized suppliers, as this could also give a unique angle to the arrangement of your bathroom.
You can also play with the width of the joints. Wider joints can give a more rustic look, while thinner joints can appear more modern. Finally, ensure that the aesthetic appeal does not compromise the functionality and effectiveness of the joint in terms of waterproofing.
Choosing a joint color that contrasts with the tiles can provide a modern effect. This allows you to draw the eye and visually energize the space. Explore different shades before making your final choice.
Selecting decorative joints with patterns can add an artistic touch. This allows you to personalize the space and give it a unique style that reflects you.
When maintaining your bathroom joints, it is essential to use the right products. Avoid all abrasive cleaners that can scratch or damage the surface of the joints. These products can create a fine layer of scratches that will allow dirt and moisture to accumulate more quickly.
Aggressive chemicals, such as bleach or cleaners containing ammonia, should also be avoided, as they can break down the joint materials and reduce their effectiveness. Prefer vinegar-based solutions or a mild cleaner specifically designed for bathrooms.
It is also important to avoid mixing different cleaning products, as this can lead to an unexpected chemical reaction that could damage your joints. Carefully reading labels and following manufacturer recommendations is good practice to adopt.
Finally, never use a metal brush or hard tools to clean your joints. Instead, opt for a soft sponge or cloth, which will clean without damaging the surface.
Abrasive cleaners can severely damage the surface of the joints. Favor gentle and suitable alternatives for the bathroom environment.
Chemicals like bleach can weaken the joints. Opt for natural and mild cleaners to preserve their integrity.
Extending the lifespan of your joints can be achieved through a few simple tips. First, avoid taking long showers without ventilation, as excessive steam can wear out the joints more quickly. Ensure you have good ventilation in your bathroom to reduce humidity.
Next, clean your joints regularly with gentle products, which will help prevent dirt buildup. Simply wiping down after each shower can make a significant difference. This will help keep your joints clean and in good condition.
Finally, if you notice signs of deterioration, like cracks or bumps, do not wait to consult a professional or take action yourself to redo the joints. The longer you wait, the more complicated the situation can become. Prevent before the problem becomes major.
By developing these good habits, you can not only extend the life of your joints but also maintain the beauty and effectiveness of your bathroom for many years to come.
Regular cleaning with gentle products will help keep your joints in good condition. Consider integrating this task into your bathroom cleaning routine to avoid future buildups.
Stay vigilant for wear signs on your joints. Constant attention will help ensure that repairs are made promptly.
For those who wish to carry out renovations while preserving the environment, several eco-friendly joint materials are available. Biosourced silicone joints represent an excellent option for replacing traditional joints. These silicones are made from renewable raw materials and possess similar sealing properties.
Additionally, water-based sealant is another environmentally friendly alternative. This type of sealant is not only less harmful to the environment, but it also offers good durability and flexibility. Most of these products can be found at major DIY stores, and many manufacturers are beginning to adopt more sustainable practices.
Finally, choosing products with low VOC (volatile organic compounds) emissions can also support an environmentally responsible commitment. This limits the impact on indoor air quality and your health.
By fighting for ecology, you will contribute to preserving the planet while enjoying a beautiful and functional bathroom space.
Biosourced silicone is an ecological alternative that ensures excellent sealing while being environmentally friendly. This makes it a top choice for sustainable renovations.
Using a water-based sealant reduces the environmental impact while providing good performance for your jointing projects. It’s a smart way to combine modernity and ecology.
In conclusion, redoing the bathroom joints is not just a matter of aesthetics, but it is also essential for ensuring the waterproofing and durability of this space. Whether you decide to do it yourself or hire a professional, follow the steps outlined in this article to ensure a quality result. Take the time to choose the appropriate materials and do not hesitate to regularly maintain your joints to avoid mold and water infiltration problems. By staying vigilant and adopting good maintenance habits, you will keep the beauty and functionality of your bathroom for many years to come.
Whether you need quick assistance or want to offer your services, Helplease is your solution! Download the app to access qualified experts or find clients in a click, and simplify your daily life! Available on iOS and Android!