
The installation of a new floor coating is an important process that requires special attention to subfloor preparation. Proper floor preparation can not only extend the life of the coating but also ensure an aesthetically pleasing and functional finish. In this article, we will discuss the various steps necessary to properly prepare your floor before installing a new coating. We will outline cleaning methods, assessing the condition of the floor, and the necessary tools, while providing practical tips to avoid common mistakes.
Do you need help removing an existing coating? Quickly find a qualified provider on Helplease and benefit from a tailor-made service to meet all your needs. Discover professionals near you!Floor preparation is a crucial step that can determine the success of installing a new coating. A well-prepared floor ensures optimal adhesion of the coating, thus minimizing the risk of peeling or premature wear. Additionally, it ensures that the coating will be installed on a flat and uniform surface, which is essential for the aesthetics and functionality of the space.
By neglecting this preparation, you run the risk of encountering issues such as air bubbles, wrinkles, or even water damage due to poor sealing. A poorly prepared floor can also lead to warping or unevenness, resulting in discomfort when walking on the coating. This can increase long-term maintenance costs, making the initial investment less profitable.
In conclusion, floor preparation is an investment in the durability and quality of your coating. Paying particular attention to this step can extend the life of the coating and enhance the overall appearance of your space. By choosing to properly prepare your floor, you avoid potential issues that could become costly to resolve later.
Poor floor preparation can lead to several complications. For example, the coating may begin to discolor or peel, leading to additional costs for repairs or premature replacement. Furthermore, the aesthetic appearance of your interior may suffer, making your space less inviting.
Floor coatings constitute a significant investment. Ensuring that the floor is properly prepared not only contributes to their performance but also strengthens their lifespan. By opting for careful preparation, you ensure that the coating remains in good condition for many years.
Removing an existing floor coating may seem like an intimidating task, but by following a few key steps, you can do so effectively. The first step is to evaluate the type of coating you wish to remove, as each material may require a different approach. For instance, a carpet may be removed more easily than closely adhered vinyl flooring.
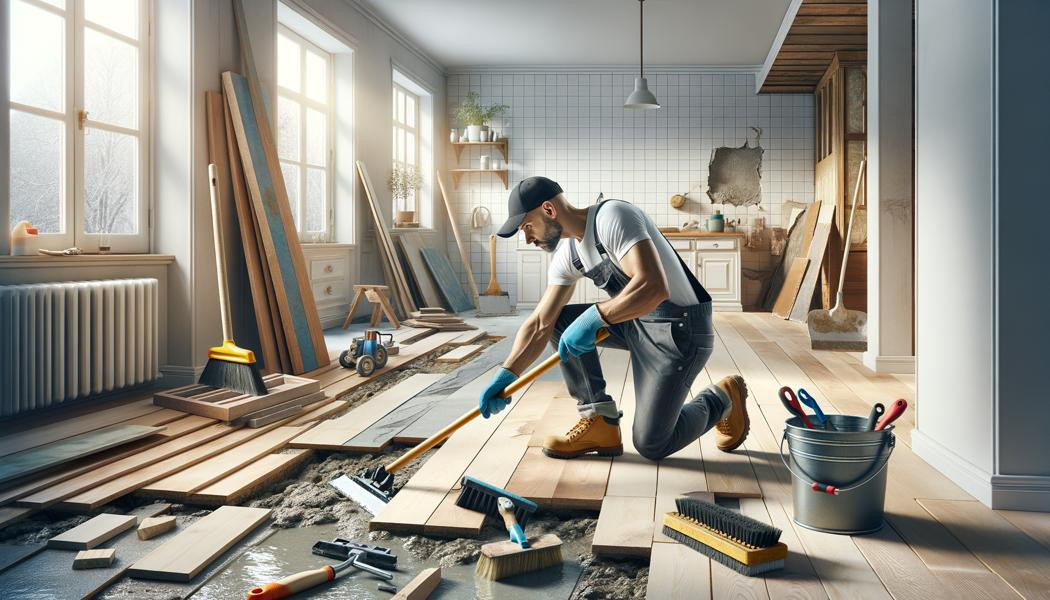
Next, you will need to prepare the work area by clearing the space of furniture and protecting adjacent surfaces to avoid damage. Using a cutter or a spatula can help you lift the edges of the coating. Once you have managed to lift a section, it is often easier to continue gently pulling on the coating to detach it from the floor.
For glued coatings, you may need special solutions to dissolve the adhesive. It is important to be patient and work slowly to avoid damaging the floor underneath. Next, it is recommended to clean the subfloor to remove any adhesive or dirt residues.
Finally, once the coating is removed, an inspection of the subfloor is necessary to ensure that it is in good condition and ready to receive the new coating. Taking the time to properly execute each of these steps will greatly facilitate the installation process of the new coating.
Before you begin removing the coating, prepare the area by removing all furniture and bulky items. Protect other surfaces with sheets or plastic to prevent damage during removal.
Use suitable tools such as spatulas, cutters, and dissolution products to help you remove the coating without too much effort. Having the right tools makes the process faster and more efficient.
Evaluating the condition of the floor after removing an old coating is essential to ensure a successful installation. Start by inspecting the subfloor for signs of moisture, warping, or damage. Use a moisture meter to test the moisture content, especially in areas likely to be exposed to water such as kitchens or bathrooms.
Also check the levelness and flatness of the floor. An uneven floor can lead to issues during the installation of the new coating, making certain areas more vulnerable to wear. Use a ruler or a level to check for flatness and identify areas that need to be corrected.
In addition, check for any signs of mold or mildew, particularly in older constructions. These issues need to be addressed before installing the new coating to prevent them from affecting indoor air quality.
A thorough inspection not only ensures that the floor is ready for the new coating but also allows for planning any necessary repairs before proceeding with installation.
Use a moisture meter to assess the moisture level of the subfloor. A high moisture level can lead to degradation of the new coating, especially if it is wood or vinyl.
Check the flatness and integrity of the subfloor. Imperfections should be corrected before adding the new coating, often using leveling materials.
Preparing the floor requires a specific set of tools that will facilitate the process. Among these tools are spatulas and scrapers that are indispensable for removing old coatings and eliminating sticky residues. Additionally, cutters are necessary to cut sections of coating or subfloor if needed.
A level is also crucial for checking the flatness of the floor. If imperfections are detected, you will need leveling tools such as self-leveling mixes to correct these defects.
For those making repairs, a repair kit including putty, sanding, and smoothing tools is essential. This ensures that any irregularity is addressed before the new investment.
Finally, do not forget to use gloves, safety glasses, and possibly a mask to protect your health during the preparation process.
Spatulas and cutting tools are essential for gently removing existing coatings without damaging the subfloor. Make sure that your tools are in good condition to facilitate the job.
Use levels and self-leveling mixes to assess and correct the condition of the subfloor. Having a repair kit with putty and appropriate tools will prepare you for any eventuality.
Once the coating is removed, thorough cleaning of the floor is crucial for a proper installation. Start by removing all visible debris using a vacuum or broom. This helps eliminate larger particles that could interfere with the new coating.
Then, proceed to a deeper cleaning with a cleaning solution suitable for your subfloor materials. For example, for concrete, a solution of water and mild soap will work well. Ensure that all adhesive residues are also removed so that the new coating adheres properly.
For wooden subfloors, avoid using too much water, as this can cause damage. A dry cleaning or a slightly damp cloth is usually sufficient. After cleaning, let the floor dry completely before installing the new coating.
Finally, once the floor is dry, conduct a final inspection to identify any anomalies that may require repairs before the installation of the new coating.
Use powerful vacuum cleaners and mops to eliminate dust and debris. Do not leave any particles that could damage the new coating.
After cleaning, ensure that the floor is completely dry before proceeding with the installation. Residual moisture can compromise the adhesion and durability of the coating.
Floor damage can vary from minor scratches to serious cracks. For minor scratches, simple sanding may be sufficient to smooth the surface for a refined finish. If the subfloor is wooden, applying wood putty may also help fill in imperfections.
For larger cracks, an effective repair method is to use concrete filling products, which can level to a smooth consistency once hardened. Be sure to apply the product carefully and sand it down after drying to achieve a flat surface.
It may also be necessary to install parquet panels or completely replace damaged sections. This can be particularly relevant for areas highly affected by moisture, where prompt intervention is crucial to avoid future damage.
Finally, after repairs, allow the area to dry well and treat the surface to prepare it for the new coating. Do not underestimate the importance of correcting imperfections before harmonizing the surface with the new coating.
For minor scratches, simple sanding with fine sandpaper will suffice to reduce the unsightly appearance and prepare for the new investment.
In cases of significant damage, considering the complete replacement of sections of flooring may be necessary to ensure a solid base for your new coating.
Certain categories of floor coatings, such as tiles or hardwood floors, require particularly meticulous floor preparation. For tiles, a perfectly leveled and stable floor is essential, as poor alignment can cause cracks and breaks.
Vinyl coatings also require special attention. Avoid installing vinyl on uneven surfaces, as this can lead to air bubbles or warping. The floor must be well cleaned and dry before laying.
Solid wood coatings require a dry environment, as moisture can lead to warping. It is crucial to ensure that the subfloor is not only clean but that the moisture level is controlled before installation.
Finally, for carpet coatings, the subfloor must also be perfectly smooth and dry to avoid any adhesion issues that could impair the overall appearance of the carpet.
Tile coatings require meticulous preparation of the floor to avoid peeling or the appearance of cracks. Ensure that the subfloor is solid and level.
Vinyl coatings require a well-prepared surface. Irregularities can lead to long-term damage, so invest time in preparing the surface.
Determining if the floor is sufficiently dry before installing a new coating is crucial for the success of the operation. Using a moisture meter is the most accurate method to test the moisture level of the subfloor. An excessively high moisture level can compromise the adhesion of the new coating and lead to mold.
If you do not have a moisture meter available, a sensitizing method is to place a piece of plastic on a portion of the floor and leave it there for 24 hours. If condensation forms under the plastic, it indicates that the floor is still too moist.
Finally, wait at least 24 hours after a thorough cleaning before installing the new coating. This allows any residual moisture to escape.
Following these steps ensures that you will not encounter moisture-related problems once the new coating is in place, thus preserving its integrity and durability over time.
A moisture meter is an effective tool for checking the soil's moisture content. Flooring manufacturers often recommend its use to ensure that conditions are appropriate.
Placing a piece of plastic on the floor is a simple method to detect moisture. If you notice condensation, it is a sign that the moisture level is too high.
There are several products specifically designed to treat floor problems before installing a new coating. For example, concrete sealers can help prevent moisture and ensure a smooth surface for laying. They are particularly useful for subfloors exposed to moisture.
Floor leveling products such as self-leveling mixes can correct surface irregularities, ensuring that the new coating is not subject to stress when it is laid. This is an effective solution for concrete floors, ensuring a stable base.
For degrading wood, treatments such as antifungal products or wood preservatives can be applied to protect against decay. This prolongs the life of the coating and ensures correct installation.
Finally, do not forget to use products specifically formulated for synthetic coatings that address specific problems. These products are designed to eliminate contaminants and ensure good adhesion.
Floor sealers help protect against moisture and prepare an adequate surface for the new coating. They also prevent moisture from rising in the concrete.
Self-leveling mixes are ideal for correcting surface irregularities, creating a stable base for your new coating.
The duration of floor preparation often depends on the initial condition of the surface and the type of coating you wish to install. Generally, it is wise to set aside at least a full day to remove an old coating and perform all necessary cleaning. If the subfloor requires additional repairs or treatments, it is advisable to allocate several days to this phase to ensure quality work.
After cleaning and repairs, it is also crucial to allow the floor to dry for at least 24 hours before installing the new coating. This is a step that is often overlooked but is essential for the success of the installation.
Finally, if in doubt about drying times or other aspects, consult the recommendations of the flooring manufacturers. They often provide specific timelines that must be adhered to in order to guarantee the best quality of installation.
In conclusion, properly planning your preparation can make a significant difference in the total duration of your project, and it is best not to rush this step.
It is crucial to plan the time needed for each step. Avoid rushing, as this could compromise the quality of the final result.
Be sure to always check the manufacturer's guidelines regarding drying times and other specific requirements for the product you are using for your coating.
Avoiding certain common mistakes during floor preparation can greatly contribute to the success of your project. First, be sure to accurately assess the condition of the floor before starting the process. Ignoring imperfections or damage can lead to complications during the installation of the new coating.
Do not underestimate the importance of completely cleaning the surface. Residues left by an old coating or cleaning products can impair the adhesion of the new coating. Use the right tools and products for thorough cleaning.
Moreover, it is essential to respect the recommended drying times. Installing a coating on a floor that is still wet or not sufficiently dry can lead to future problems, such as the appearance of mold or the peeling of the coating.
Lastly, carefully document your procedures and make adjustments as necessary. Keeping track of the steps you have taken can be very helpful if you need to troubleshoot or resolve an issue.
Ensuring you accurately assess the floor for defects before starting repairs is crucial. Do not let an incomplete assessment lead to complications during the installation of the new coating.
Take the time to thoroughly clean the surface. Sloppy cleaning can compromise installation quality and lead to problems later.
To ensure a successful installation of your new coating, start with thorough floor preparation. Follow the steps mentioned above and ensure that all repairs have been properly made. This establishes a solid base for your coating.
Use quality products suitable for the type of coating you are installing and follow all manufacturer recommendations. Do not rush the installation process. Take your time to properly position each piece and ensure everything is level.
Also, invest in quality tools to guarantee a professional result. Avoid skimping on materials or tools, as this can lead to additional long-term costs.
Finally, remember the importance of maintenance after installation. Regular upkeep will prolong the life of your coating and preserve its appearance. Educate yourself about the recommended cleaning and maintenance practices for your type of coating.
If your skills are not up to the challenge, consider hiring professionals. They have the expertise necessary to ensure a successful and durable installation.
Establish a regular maintenance plan. This includes gentle cleaning and periodic checks to prolong the life of your coating.
Preparing the floor before installing a new coating is a critical step that should not be overlooked. By following the steps outlined in this article, you can ensure adequate surface preparation, which will contribute to the successful installation. Whether it involves removing an old coating, assessing the condition of the subfloor, or using the appropriate tools, each step plays a vital role. Consider investing the time and effort necessary to fully enjoy your new coating while ensuring its longevity. Remember that the quality of installation often depends on the initial preparation of the floor.
Whether you need quick help or wish to offer your services, Helplease is your solution! Download the app to access qualified experts or find clients with just one click, and simplify your daily life! Available on iOS and Android!