
Hanging a picture properly can transform the ambiance of your home. However, this act may seem simple, but it requires some skills and an understanding of the different techniques and tools available. In this article, we will explore in depth the best practices for hanging a picture to ensure not only an aesthetic outcome but also a secure and durable attachment. We will cover the various types of techniques, the necessary tools, and share tips for creating a harmonious art gallery that reflects your personal style.
Do you need help hanging a picture? Quickly find a qualified provider on Helplease and benefit from a tailored service to meet all your needs. Discover the professionals near you!Properly hanging a picture has aesthetic and practical implications. Indeed, a poorly hung picture can not only look unappealing but can also detract from your overall interior decor. Moreover, an incorrect fixation can lead to accidents, such as the picture falling, which could damage your wall or your precious artwork.
A correctly hung picture can also enhance the harmony of a room. It creates interesting focal points, attracts the eye, and gives an impression of depth or dimension. This contributes to a warm and welcoming atmosphere in your living space.
Finally, choosing an appropriate hanging technique and a good location can also protect your picture from elements such as humidity or direct sunlight, which could damage it over time.
In summary, properly hanging a picture is crucial not only for aesthetics but also for the safety and longevity of your artwork.
Interior design experts often emphasize the importance of hanging a picture at the right height. Ideally, the center of the picture should be at eye level. This maximizes visual impact and ensures a pleasant aesthetic experience for everyone in the room.
It is also essential to consider the environment in which the picture will be hung. For example, a picture in a very bright room may require a different type of fixation than one hung in a darker room.
Professionals, looking for more clients? Sign up on Helplease today to offer your services and grow your business. Access a large client base in just a few clicks!There are several techniques for hanging a picture. The most common include the use of hooks, screws, nails, or rail systems. Each technique has its advantages and disadvantages, and the choice of method often depends on the type of picture and the wall on which it will be hung.
Hooks are often used for lightweight pictures. They can be easily installed and removed without damaging the wall. Screws and nails, on the other hand, are more suited for heavier works, as they can provide a solid and secure support.
A rail system can also be an excellent option for those who want to hang multiple works of art. This system allows for easy adjustment of the picture positions without having to drill new holes in the wall. Additionally, it offers the necessary flexibility to change the arrangement as desired.
Finally, adhesive solutions can also be used to hang lighter works. These systems are ideal for delicate walls or to avoid making holes.
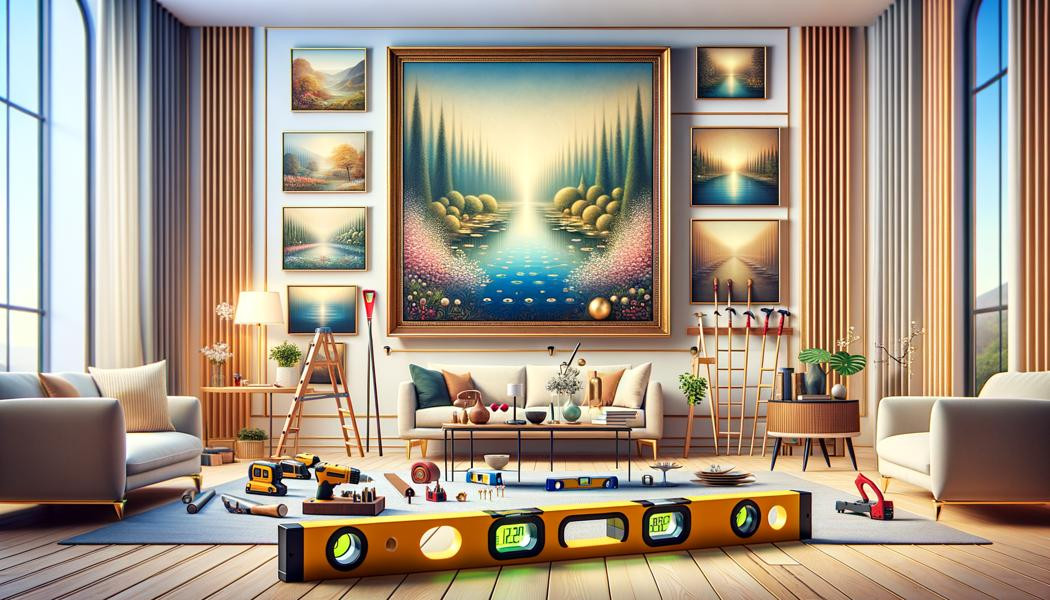
Professional artists often recommend using a level and a measuring tape to ensure that each picture is perfectly straight and at the correct height.
It is essential to weigh the pros and cons of each technique. For example, while adhesive solutions are easy to use, they may not be suitable for all wall types or pictures.
The choice of location for a picture is just as important as how it is hung. To determine a good spot, several factors must be considered, including light, space, and the room's decorative style.
First, examine the natural light. Avoid hanging a picture in direct sunlight, as the light can alter colors over time. Indirect light is generally more favorable and helps preserve the integrity of the work.
Next, think about the space. A picture should be placed where it can truly be admired. This means it should not be too high or too low, but should attract the gaze effortlessly.
Finally, the overall decorative style of the room must be taken into account. A picture should complement and enrich the existing style, rather than create a visual imbalance. For example, a modern picture may not work in a classic room. Consistency is key.
Before deciding on a location, it can be helpful to use tape to simulate the size of the picture on the wall. This will give you a better idea of how the work will fit into the space.
Also think about how the picture will interact with other elements in the room, such as furniture and lighting fixtures. This can significantly affect the visual impact of the work.
If you are looking for an expert to meet your specific needs, visit Helplease and discover the available providers near you. Simplify your life and find the right professional!To hang a picture correctly, several tools are necessary. A good start includes a level to ensure that the picture is straight, as well as a measuring tape to measure the desired height. It is also important to have hooks, screws, and a hammer or drill, depending on the chosen technique.
A pen or pencil can also be useful to mark the precise location of the hooks or holes to be drilled. Finally, do not forget to use a ladder or step stool to reach high areas.
It is recommended to read the instructions for the fixation systems to ensure they are suitable for the weight and type of wall.
By having the right tools, you can ensure that the hanging process goes smoothly and effectively, thus reducing the risk of mistakes that could compromise the safety or aesthetics of your picture.
Here is a quick list of tools you should have on hand: level, measuring tape, hooks or screws suitable for the weight of the picture, hammer or drill, and possibly a ladder.
A frequent mistake is not using the right materials for the type of wall on which the picture will be hung. Always ensure that your fixations are appropriate and strong enough.
The choice of fixation primarily depends on the type of wall on which you will hang your picture. Plaster, concrete, or brick walls require different fixations. For example, a concrete wall needs specific anchors and screws, while a plaster wall may only require a nail or hook.
For brick walls, wall anchors are often the best option, as they offer secure grip. Concrete walls may require special drill bits to bore the necessary holes.
Another type of wall to consider is drywall. For this type, it is advisable to use screw hooks that attach directly to the wall rather than just relying on nails.
Always ensure that you choose fixations that can support the weight of your picture. An inappropriate fixation could lead to unfortunate accidents.
Countersunk screws for wood and anchors for concrete are good choices. For drywall, use anchors designed to provide the best support.
If you have delicate or painted walls, consider using less invasive solutions, such as adhesive hooks, which minimize damage.
To avoid your picture being crooked, using a level is essential. Before fixing the picture, place the level on the frame to ensure it is straight.
Once hung, check the position again with the level. If you have used hooks, ensure that they are properly placed and that the picture is centered in relation to the space.
It is also helpful to hang your picture considering a slight angle or tilt, especially if you are hanging multiple pictures in a series. This can create a visual balance in the overall arrangement.
For heavy or large pictures, consider using two mounting points instead of one. This not only helps keep the picture straight but also distributes the weight more evenly.
Using safety fixations or clips can also help ensure that the picture remains in place, even in case of vibrations or accidental movements.
It can be beneficial to check the alignment of your picture from time to time, especially in the case of furniture movements or seasonal humidity changes.
Creating a harmonious picture gallery requires careful planning. To start, choose a theme or color palette that resonates with the entire room. This can range from black and white to vibrant colors, depending on your personal style.
Next, determine the layout of the pictures. One method to visualize this is to arrange the pictures on the floor before hanging them to experiment with different configurations.
Consider using pictures of different sizes and shapes. Variation in presentation creates a dynamic effect, but be sure to balance large pictures with smaller ones to avoid cluttering the space.
Finally, considering the distance between each picture is crucial. Spacing a few centimeters (about 5 to 10 cm) between each frame allows for pleasant eye movement while maintaining a neat appearance.
It can be helpful to draw inspiration from art galleries or other living spaces to see how professionals arrange their works. Observing how a harmony of style is created can enrich your own arrangement choices.
Consider integrating other decorative elements such as shelves or sculptures to further enrich the gallery, creating a visual balance.
Before hanging a picture, it is crucial to weigh its various components to choose the appropriate fixation method. Use a scale to weigh the picture directly or consult specifications if it is from a store.
For pictures made of glass or solid wood, keep in mind that they are often heavier than they appear. This requires particular attention to fixations.
In general, a good rule of thumb is to choose fixations that can support at least twice the weight of the picture. This provides additional safety margins and reduces the risk of failure.
If you are unsure how to weigh your picture or what materials to use, do not hesitate to consult a professional for advice.
Also consider the materials used in the picture frame. For example, a metal frame may weigh more than a plastic frame, even at equal dimensions.
Ensure that adjustments are made based on the weight that may change as decorative objects are added in front of the picture after hanging.
If you are a tenant or wish to avoid drilling holes in the wall, several methods exist. Adhesive hooks are an excellent option for hanging lightweight pictures without damaging the wall surface.
Another solution is to use Velcro strips. These strips allow for secure attachment while being easy to remove without leaving marks.
For heavier frames, consider using picture supports to stabilize them from below without suspending. This can help avoid damage to your walls while keeping the artwork safe.
Finally, if you wish to hang temporary artworks, magnetic rods can also be effective for hanging without drilling.
It is important to compare non-drilling methods to establish which one is best suited for your wall and your picture.
When using non-drilling methods, always read the product specifications to ensure they are suitable for the weight and surface type of your picture.
Hanging a picture in a humid room, such as a bathroom or kitchen, requires additional precautions. Ensure to use moisture-resistant materials to avoid damage to the frame and artwork.
It is also advisable to avoid hanging paper or canvas artworks, which could warp with humidity. Instead, prefer pictures made of more robust materials, such as metal or glass.
Exponentially, use special fixations designed to withstand humidity, such as plastic anchors for humid walls, to ensure your works remain in place.
Finally, maintain adequate ventilation in the room to help minimize excess humidity, which will prolong the life of your pictures.
When selecting works for humid spaces, opt for glass-encased prints or reproductions of works that are less sensitive to humidity conditions.
Installing additional protections such as moisture-resistant glazing can also help preserve your artworks.
Once your pictures are hung, their maintenance is essential to ensure their long-term beauty. Avoid exposing your pictures to extreme light or heat conditions, which could lead to fading or warping.
Regular cleaning is recommended, but do it gently. Avoid using harsh chemicals and prefer a soft, dry cloth to remove dust.
In case of stains, slight humidity with distilled water can help clean, but again, use this method with caution and avoid wetting the frame.
For canvas works, regularly rotating the pictures can help limit exposure to direct sunlight, thus preserving the original colors.
It is beneficial to develop a cleaning routine, perhaps once a month, to ensure your works remain beautiful over time.
Installing your works away from heat sources like fireplaces or radiators can also help prevent premature aging.
There are several common mistakes that people often make when hanging pictures. One of the most frequent is not using a level, which can result in a crooked picture. It is crucial to have this tool on hand to ensure perfect hanging.
Another frequent mistake is not considering the size of the picture relative to the available space. A large picture in a small room can seem overwhelming, while a small picture in a large space can appear lost.
Not checking the wall's strength before hanging can also lead to disastrous accidents. Choosing the wrong type of fixation can eventually result in your work falling.
Finally, neglecting the aesthetic aspect can harm how the picture is perceived. Always consider the arrangement and style of your decor before deciding where to hang your works.
Avoid hanging too many pictures in the same place, which can create visual clutter and diminish the impact of each piece.
There are many online guides and tutorials that can help you avoid these common mistakes and improve your hanging technique.
Having the right technique for hanging a picture not only ensures a professional look but also contributes to the safety of your artwork. By considering several factors such as hanging techniques, choice of tools, location, and maintenance, you can ensure that your pictures are not only aesthetically pleasing but also well protected against potential damage. By following these tips, you can create a decorative environment that reflects your tastes while demonstrating professionalism in hanging your artworks.
Whether you need quick help or wish to offer your services, Helplease is your solution! Download the app to access qualified experts or find clients with just one click, and simplify your daily life! Available on iOS and Android!